Dealing with water damage in your ceiling can be a homeowner’s nightmare. Not only does it create unsightly stains and potentially harmful mold and mildew, but it can also lead to more severe structural damage if not addressed promptly. Whether the cause is a leaking roof, burst pipe, or an overflowing bathtub, the key to minimizing damage lies in swift and effective action.
In this guide, we’ll walk you through three essential steps to tackle ceiling damage efficiently. From identifying the source of the problem to drying out the affected areas and making necessary repairs, these steps will help ensure that your home remains safe and sound.
Plus, we’ll discuss the importance of preventing future damage and why professional restoration might be necessary to fully restore your home.
Ignoring water damage, even a small leak, can lead to more significant issues down the line, including costly repairs and potential health risks. Understanding how to address the damage in your ceiling can save you time, money, and stress in the long run.
1. Identify the Source of the Water
The first crucial step in addressing water damage in your ceiling is to identify the source of the water intrusion. Understanding where the water is coming from is essential for stopping the damage from worsening and preventing future issues. Water can enter your ceiling through various pathways, each requiring a different approach to resolve.
Begin by inspecting the area above the damaged ceiling. If the room above the ceiling is a bathroom, kitchen, or laundry area, check for leaks in plumbing fixtures, appliances, or drains. Look for visible signs of water, such as puddles, wet floors, or dripping pipes. If the source isn’t immediately apparent, consider turning off the water supply to see if the leak stops.
In cases where the water originates from an external source, such as a roof leak, check your attic or roof space. Look for damp insulation, wet spots on the roof decking, or sunlight shining through holes in the roof. Identifying the exact entry point on the roof is crucial for making effective repairs and stopping further water intrusion.
Once you have identified the source, take steps to stop the water flow. This might involve shutting off the main water valve, sealing a roof leak temporarily, or contacting a professional to handle more complex issues. By addressing the source of the water, you can prevent further damage and begin the process of drying out and repairing your ceiling.
2. Dry and Assess the Damage
After identifying the source of the water, the next step is to dry the affected area and assess the extent of the damage. Drying out the ceiling promptly is crucial to prevent further deterioration and minimize the risk of mold growth. Start by removing any standing water if it’s present, and then use fans, dehumidifiers, and heaters to accelerate the drying process.
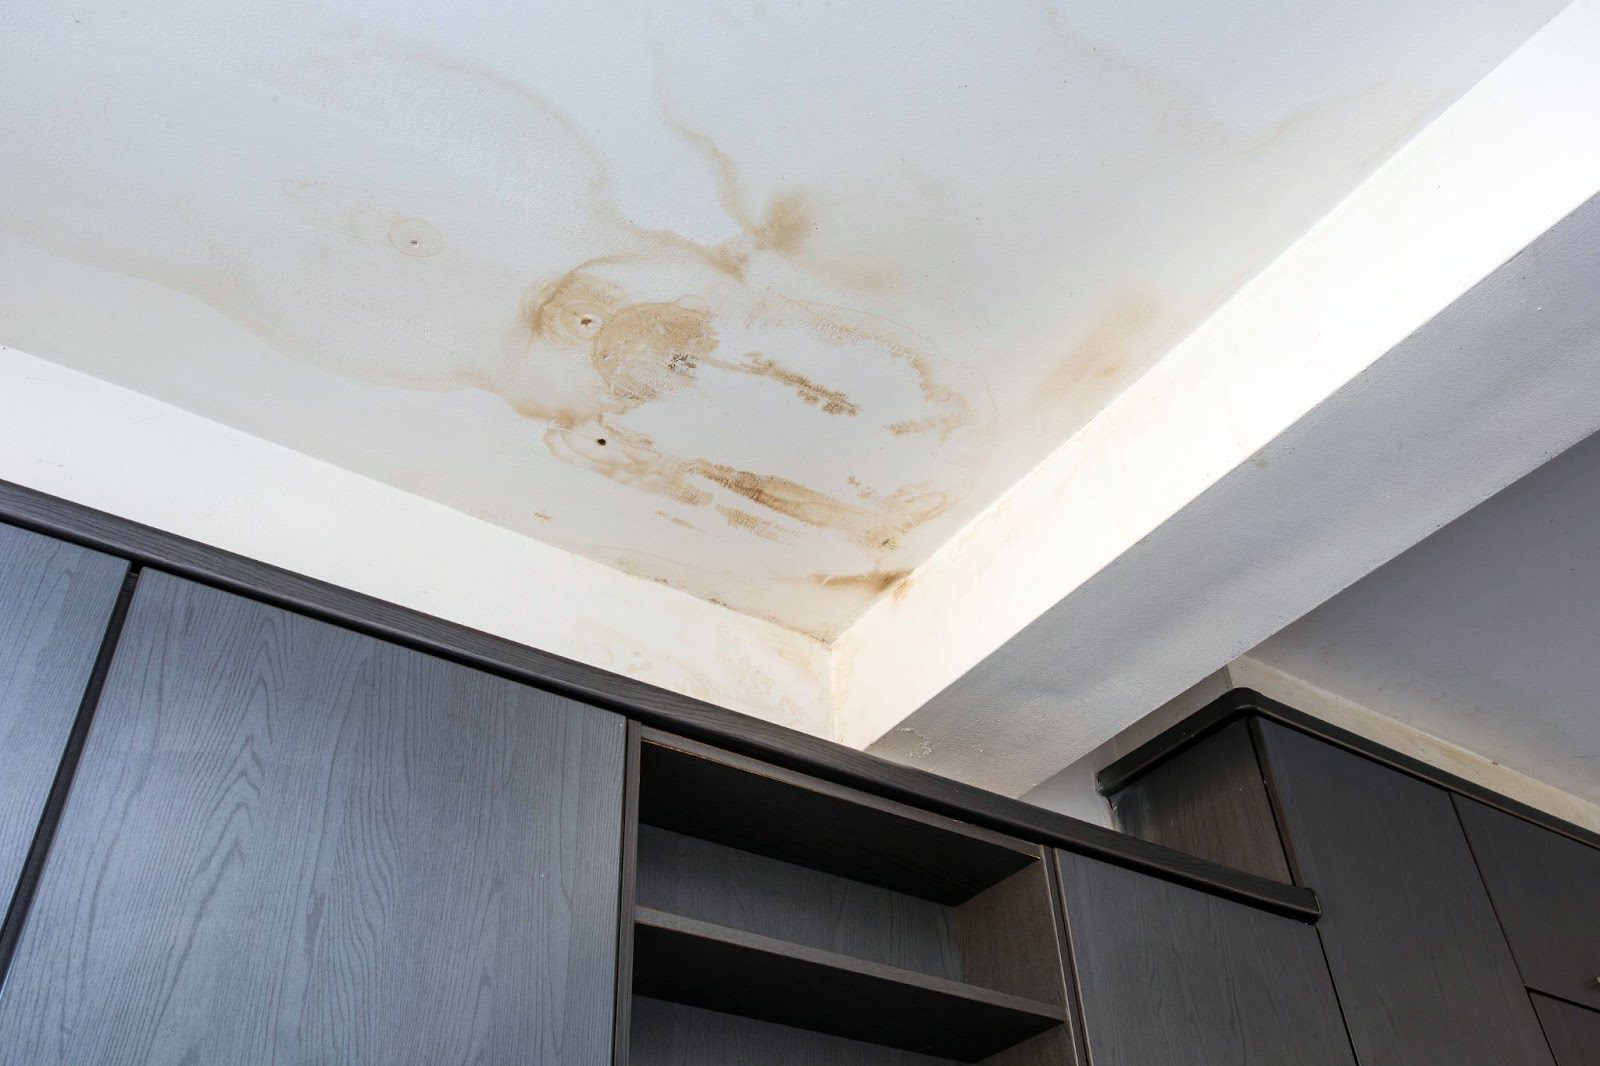
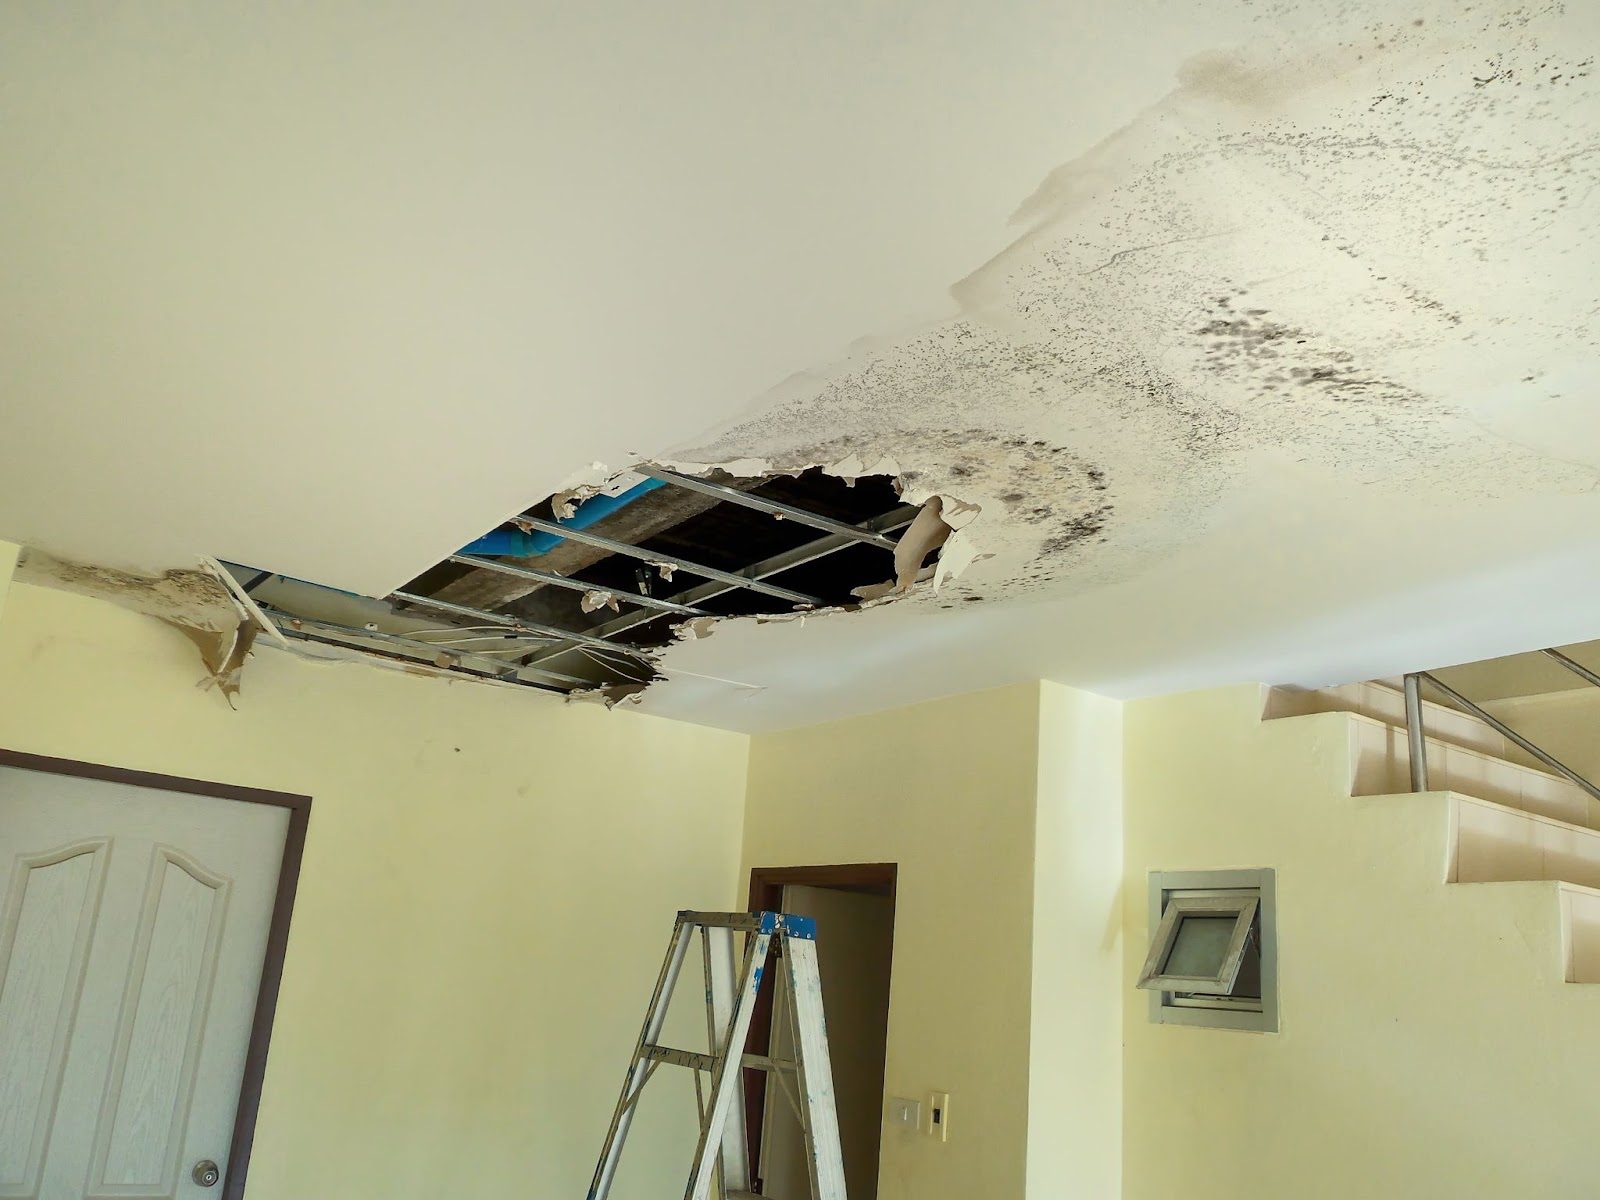
Ensure that the area is well-ventilated to facilitate evaporation, and if possible, open windows to allow fresh air to circulate. As the ceiling begins to dry, take a closer look at the damage. Check for signs of discoloration, warping, or sagging, which could indicate that the water has penetrated deeply into the structure.
Inspect the ceiling material, whether it’s drywall, plaster, or another substance, to determine if it can be salvaged or if replacement is necessary. In some cases, the water may have caused significant damage to the ceiling’s structural integrity, requiring more extensive repairs.
During this assessment, it’s also important to look for any signs of mold and mildew, as these can develop quickly in damp environments. Mold not only damages the material but can also pose health risks to those in the home. If you notice any mold growth, it’s critical to address it immediately, as leaving it untreated will exacerbate the problem.
Properly drying and assessing the damage allows you to determine the best course of action for repair and restoration. This step is essential to ensure that all affected areas are fully addressed, preventing further issues down the road.
3. Repair and Restore
Once the ceiling is thoroughly dried and the extent of the damage has been assessed, it’s time to move on to the repair and restoration phase. This step is crucial in returning your ceiling—and your home—to its pre-damage condition, ensuring both aesthetic appeal and structural integrity.
Start by addressing any structural issues that the water may have caused. If the ceiling material is compromised, such as sagging drywall or plaster, it will need to be replaced. Cut out the damaged sections carefully, being sure to extend the cuts slightly beyond the visibly damaged area to ensure that all affected material is removed. This will prevent any hidden moisture from causing future problems.
For minor cracks or holes, patching with joint compound or plaster may be sufficient. Apply the compound in layers, allowing each layer to dry before adding the next. Once the final layer is dry, sand it smooth to create a seamless repair.
After the structural repairs are complete, it’s time to restore the ceiling to its original appearance. This may involve repainting the affected area or, in some cases, repainting the entire ceiling to ensure a uniform look. Use a stain-blocking primer first to prevent any remaining water stains from bleeding through the new paint. Once the primer is dry, apply your chosen ceiling paint in smooth, even coats.
If the ceiling has special finishes, such as textured patterns or moldings, take care to replicate these details during the restoration. Matching the texture and finish of the repaired area with the surrounding ceiling will help the repair blend seamlessly.
By thoroughly repairing and restoring the ceiling, you ensure that your home not only looks good but is also structurally sound, preventing any future issues related to the previous damage.
Preventing Future Water Damage
Preventing future water damage is essential to maintaining the integrity of your home and avoiding costly repairs. Regular maintenance and vigilance are key factors in preventing damage to your ceiling. Start by inspecting your roof periodically for any signs of wear and tear, such as missing shingles, cracks, or leaks.
Ensuring that gutters and downspouts are clean and functioning properly will also help divert water away from your home, reducing the risk of water infiltration.
Additionally, checking for and repairing any leaks in plumbing fixtures, especially those located on upper floors, can prevent water from seeping into your ceiling. By taking these proactive steps, you safeguard your home from potential damage and ensure its long-term durability.
The Cost of Ignoring Ceiling Water Damage
Ignoring ceiling water damage can lead to significant and costly consequences for your home. What might start as a small, seemingly insignificant leak can quickly escalate into more extensive structural damage, such as weakened ceiling joists, compromised insulation, and even mold growth. These issues not only require expensive repairs but may also pose health risks to the occupants of the home, particularly if mold and mildew become widespread.
Addressing ceiling damage promptly is crucial to avoiding these escalating costs and ensuring the safety and longevity of your home.
Why Professional Restoration May Be Necessary
Professional restoration may be necessary when dealing with ceiling damage due to the complexity and potential risks involved in the repair process. Water damage can affect multiple layers of your home’s structure, from the ceiling surface to the insulation and even the support beams.
Identifying the full extent of the damage often requires specialized tools and expertise to ensure that no hidden moisture is left behind, which could lead to mold growth or structural deterioration.
Additionally, professional restoration teams are equipped with industrial-grade drying equipment and advanced techniques that ensure thorough drying and decontamination, reducing the risk of future problems.
Another reason to consider professional restoration is the potential for health hazards associated with intrusive water, particularly if the water source is contaminated, such as from a sewage backup. Handling such situations requires proper protective equipment and knowledge of safe disposal methods to prevent exposure to harmful bacteria and other pathogens.
Trust the Experts at Total Flood and Fire Restoration
When it comes to addressing ceiling water damage, trusting the experts at Total Flood and Fire Restoration is your best course of action. Our team of experienced professionals is well-versed in handling all aspects of damage, from identifying hidden sources of moisture to thoroughly drying and restoring affected areas.
At Total Flood and Fire Restoration, we prioritize your safety and satisfaction. Our commitment to excellence means that we approach every job with the same level of care and attention to detail, no matter the size or scope of the damage.
We work closely with you throughout the restoration process, providing clear communication and updates so you always know what to expect. Contact us today to learn more about our comprehensive water damage restoration services!
