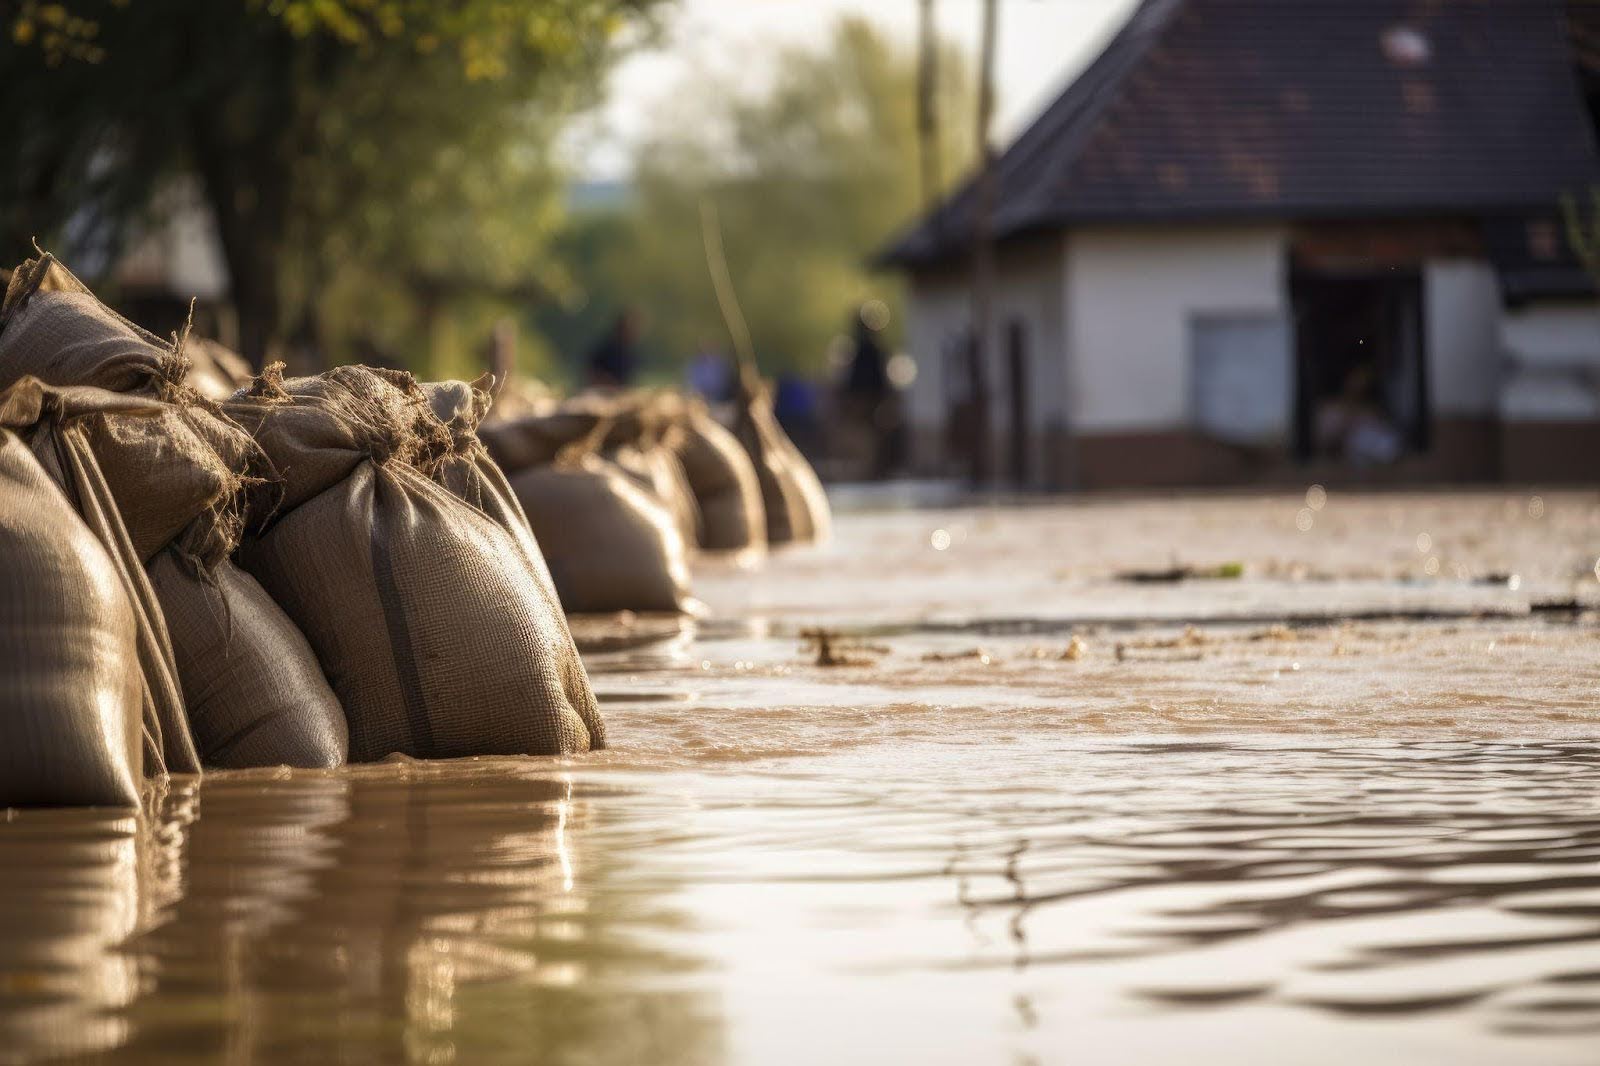
Flood damage causes more than surface-level issues. Water seeps into walls, floors, and foundations, ruining belongings and threatening your home’s structure and air quality. Mold starts growing fast, and materials begin to decay within hours.
Taking immediate action limits the damage and shortens recovery time. This guide walks you through the flood restoration process step by step — from the moment water enters your home to the final repairs — so you can protect your space and restore it with confidence.
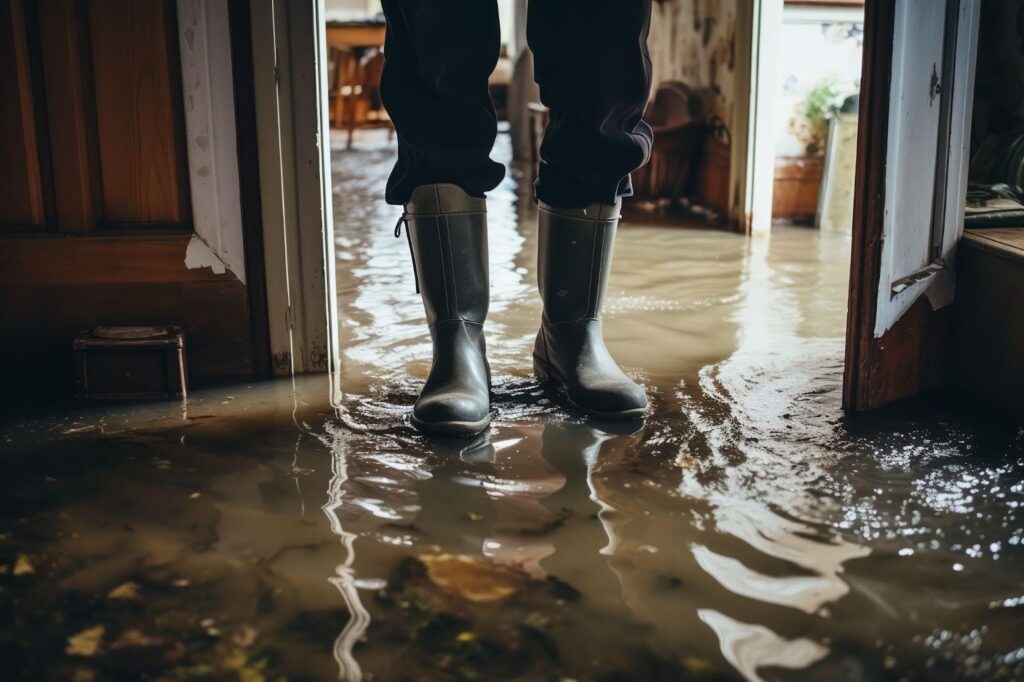
Ensure safety before entering
Floodwaters compromise the structure of your home and the safety of your environment. Before beginning any cleanup or inspection, take these critical steps to protect yourself and others.
Turn off the electricity and gas
Shut off power and gas at the main supply before entering any flooded area. Water conducts electricity; even a small spark near a gas leak can trigger a fire or explosion. If you’re unsure how to turn off the utilities safely, call your local utility provider or a licensed technician for help.
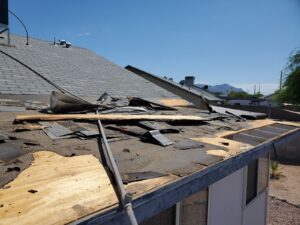
Inspect for structural damage
Examine the home’s exterior and interior for signs of instability. Look for sagging ceilings, cracked walls, warped floors, or shifted foundations. If anything appears unsafe, wait for a professional to assess the structure before proceeding.
Wear proper protective gear
Suit up with waterproof boots, heavy-duty gloves, and an N95 mask or respirator. Floodwater often contains sewage, bacteria, sharp debris, and toxic chemicals. Protecting your skin, eyes, and lungs reduces your risk of injury or infection during cleanup.
Wait for official clearance
If authorities issue an evacuation order, wait for their approval before reentering. Emergency crews may need time to assess hidden dangers such as gas leaks, contaminated water supplies, or downed power lines. Reenter only when it’s declared safe.
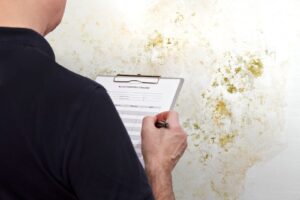
Document the damage
Thorough documentation supports your insurance claim, helps professionals assess the situation accurately, and creates a reliable record for future reference. Begin this process as soon as it’s safe to enter the property.
Take comprehensive photos and videos
Walk through every room and capture wide-angle shots, close-ups of damage, and multiple angles of high-impact areas. Focus on flooring, walls, furniture, appliances, and any structural issues. Take video footage to provide context and show how the flood damage spreads from one area to another.
Create a detailed inventory
List every item affected by the flood. Include furniture, electronics, personal belongings, and household items. Record brand names, model numbers, purchase dates if available, and estimated values. This helps establish proof of loss for your insurance provider.
Save all receipts
Keep receipts for emergency purchases like sump pumps, fans, cleaning supplies, temporary housing, and meals. Your policy may reimburse these under additional living expenses or loss mitigation coverage. A paper trail makes it easier to recover your out-of-pocket costs.
Start your insurance claim promptly
Contact your insurance provider as soon as possible to report the flood damage. To speed up the process, submit your photos, inventory, and receipts with the initial claim. Early communication prevents delays and ensures you stay within claim deadlines.
Remove standing water
Once you document the damage, focus on removing all standing water. This step limits mold growth, preserves your home’s structure, and restores livable conditions. The longer water sits, the greater the risk of costly damage.
Use proper water extraction tools
Start with wet/dry vacuums for small puddles and portable submersible pumps for deeper flooding. In severe cases, professional restoration teams use commercial-grade extractors that remove large volumes of water quickly and efficiently. Choose the right tool based on the depth and extent of the flood.
Prioritize lower levels
Water naturally flows to the lowest points in a home, so begin extraction in basements, crawl spaces, and sunken living areas. These spaces often hide trapped water and tend to stay wet longer than the upper levels. Focus on these zones first to reduce humidity and prevent additional damage.
Work quickly to avoid mold and structural damage
Mold starts forming within 24 to 48 hours of water exposure. Rapid removal cuts off the moisture that mold needs to grow and protects wood framing, insulation, and drywall from rot or warping. Acting quickly also reduces the chance of secondary damage, which often results from delayed drying.
Sort and remove damaged materials

Once you extract the water and begin drying out your home, turn your attention to damaged materials. Floodwater contaminates nearly everything it touches, and some materials absorb moisture and bacteria so deeply that they become unsafe to keep.
Discard porous items
Remove and dispose of materials that absorb water and trap mold spores. These often include:
- Drywall
- Carpet and carpet padding
- Insulation
- Upholstered furniture
- Mattresses
- Ceiling tiles
- Books and paper-based items
These materials hold moisture even after they appear dry and often grow mold or harbor contaminants.
Salvage non-porous materials
Inspect hard-surface items like plastic, glass, metal, and sealed wood. If these items did not stay submerged for long and show no signs of contamination, clean and disinfect them thoroughly before reuse. Prioritize safety and cleanliness when deciding what to keep.
Separate the contaminated from the clean
Move all salvageable items to a clean, dry area to prevent cross-contamination. Store damaged materials in a designated space away from unaffected belongings. Label items clearly if they await inspection by an insurance adjuster. This step helps maintain a safe environment and streamlines the restoration process.
Dry the space completely
After removing water and sorting damaged materials, you need to dry the space as thoroughly as possible. Moisture that lingers in walls, floors, or air ducts encourages mold growth and structural decay. Fast, complete drying protects your home and prepares it for restoration.
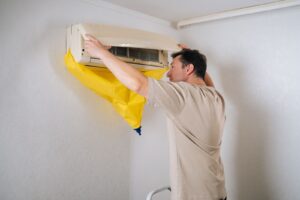
Set up drying equipment
Place industrial air movers throughout the affected areas to circulate air across damp surfaces. Pair them with commercial-grade dehumidifiers to pull moisture from the air and reduce humidity. Let this equipment run continuously for several days to speed up evaporation and stop mold from forming.
Target hidden moisture
Moisture often hides behind drywall, under flooring, and inside HVAC systems. Open up baseboards, drill small ventilation holes in affected walls, and remove flooring if necessary to allow airflow into tight spaces. Check air ducts and vents, which can trap humid air and distribute it throughout the home.
Monitor humidity levels
Use a digital hygrometer to track relative humidity throughout the drying process. Keep indoor humidity between 30 and 50 percent. If the readings climb above that range, increase your drying efforts by adding more dehumidifiers or improving airflow.
Stay consistent
Do not turn off fans or dehumidifiers too early. Continue running your equipment until all areas test dry and humidity levels stabilize. Premature shutdowns allow moisture to settle back into porous surfaces, which can lead to long-term damage or mold growth.
Clean and disinfect thoroughly
After drying the space and removing damaged materials, deep cleaning becomes essential. Floodwater carries bacteria, mold spores, and chemical contaminants that settle on every surface. Sanitizing properly protects your health and prepares your home for rebuilding.
Use EPA-registered disinfectants
Choose disinfectants approved by the Environmental Protection Agency for post-flood cleanup. These products target harmful microbes and mold spores that ordinary cleaners leave behind. Always follow the manufacturer’s instructions for safe use and proper dwell time.
Scrub all hard surfaces
Clean floors, walls, cabinets, and solid furniture with mold-killing solutions. Use stiff-bristled brushes to reach into cracks and textured surfaces. Rinse with clean water and dry the area completely to stop new mold from forming.
Avoid bleach on porous surfaces
Do not use bleach on materials like drywall, wood, or fabric. It fails to reach mold hidden deep within pores and may leave moisture behind. Instead, discard porous items that show signs of mold or cannot be cleaned thoroughly.
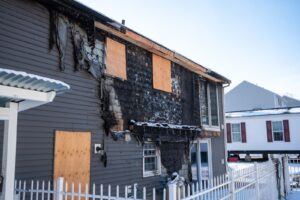
Repair and rebuild
Begin structural repairs once the home is clean, dry, and safe. Replace damaged drywall, flooring, insulation, cabinets, and baseboards. Inspect framing, subflooring, wiring, and plumbing for hidden issues before rebuilding.
Choose water-resistant materials like vinyl, tile, sealed concrete, mold-resistant drywall, and closed-cell insulation to add durability and simplify future cleanup.
Upgrade sump pumps with battery backups, extend downspouts, clean gutters, improve yard grading, or install French drains to reduce future flood risks.
Let Total Flood and Fire help restore your home with confidence
When the job feels overwhelming, turn to the experts at Total Flood and Fire Restoration. Our certified team responds quickly, uses industry-leading equipment, and brings the knowledge needed to fully restore your property.
Whether you’re dealing with inches of water or major structural damage, we offer reliable solutions that prioritize safety and long-term peace of mind. Don’t face the aftermath alone. Contact Total Flood and Fire Restoration to help you recover faster, safer, and stronger.