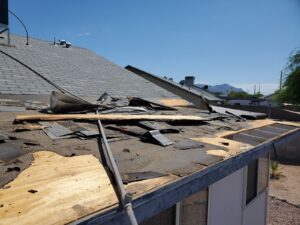
Repairing water damaged wood is a crucial task for any homeowner or DIY enthusiast facing the aftermath of leaks, floods, or high humidity. Water damage can significantly impact the structural integrity and aesthetic appeal of wood, leading to problems such as warping, discoloration, and rot. Left untreated, the wood can worsen, causing further damage to your home and potentially leading to costly repairs.
Addressing water damage as soon as it’s discovered is essential for minimizing its effects and preserving the longevity of your wood surfaces. This process involves more than just drying the affected area—it requires a thorough assessment of the damage, the right materials, and a careful approach to restore the wood’s original condition.
Whether you’re dealing with minor surface stains or extensive water damage in wood floor areas, understanding the correct steps to take can make all the difference.
In this guide, we’ll outline eight essential steps for repairing water damaged wood. These steps will help you not only restore the wood’s appearance but also reinforce its structural integrity, ensuring that your wood surfaces remain durable and beautiful for years to come!
Repairing Water Damaged Wood
When water infiltrates wood, it can cause a variety of issues ranging from surface stains to deep structural damage. Whether it’s a minor spill or significant flooding, addressing water damage in wood floor areas or other spots in your home is crucial to preserving its integrity and appearance.
The following steps will guide you through the process of repairing water damaged wood, helping you restore its strength and beauty. By following these essential steps, you’ll be able to tackle everything from minor repairs to more extensive restoration projects with confidence!
1. Identify the extent of the damage
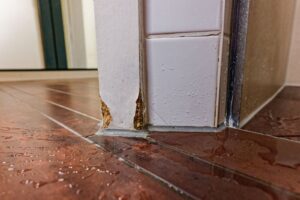
The first step in repairing water damaged wood is to assess the extent of the damage. This involves carefully inspecting the affected area to determine how deeply the water has penetrated the wood and how widespread the damage is. Look for visible signs such as discoloration, warping, swelling, and soft spots. These symptoms indicate that the wood has absorbed a significant amount of water, which could lead to structural issues if not addressed.
It’s also important to check for less obvious signs of damage. For instance, water can seep into cracks and crevices, leading to hidden pockets of moisture that may cause further deterioration over time. Use a moisture meter to get an accurate reading of the wood’s moisture content, especially in areas where the damage is not immediately visible. This tool can help you identify areas that may require more extensive drying or treatment.
In addition to assessing the wood itself, consider the surrounding environment. If the water damage in wood floor areas or other places is due to a leak or flooding, make sure that the source of the moisture has been completely resolved before proceeding with repairs. Otherwise, the damage may recur, rendering your repair efforts ineffective.
By taking the time to thoroughly identify the extent of the damage, you can develop a more effective plan for restoring the wood to its original condition and preventing future issues.
2. Dry the wood completely
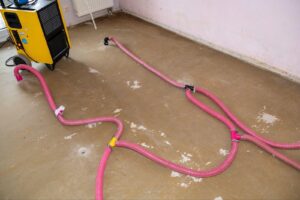
After assessing the extent of the damage, the next crucial step is to dry the wood completely. This process is essential because any remaining moisture can continue to degrade the wood, leading to further warping, swelling, or even mold growth. To start, remove any excess water from the surface of the wood using towels or a wet/dry vacuum. The sooner you begin the drying process, the better the chances of restoring the wood to its original state.
For deeper drying, it’s important to use fans, dehumidifiers, and, if possible, open windows to promote airflow throughout the affected area. Position fans to blow directly over the damaged wood, helping to speed up the evaporation process. Dehumidifiers are particularly effective in closed spaces, as they pull moisture out of the air, reducing the overall humidity level and preventing the wood from reabsorbing water.
Depending on the severity of the damage, this drying process could take several days or even weeks.
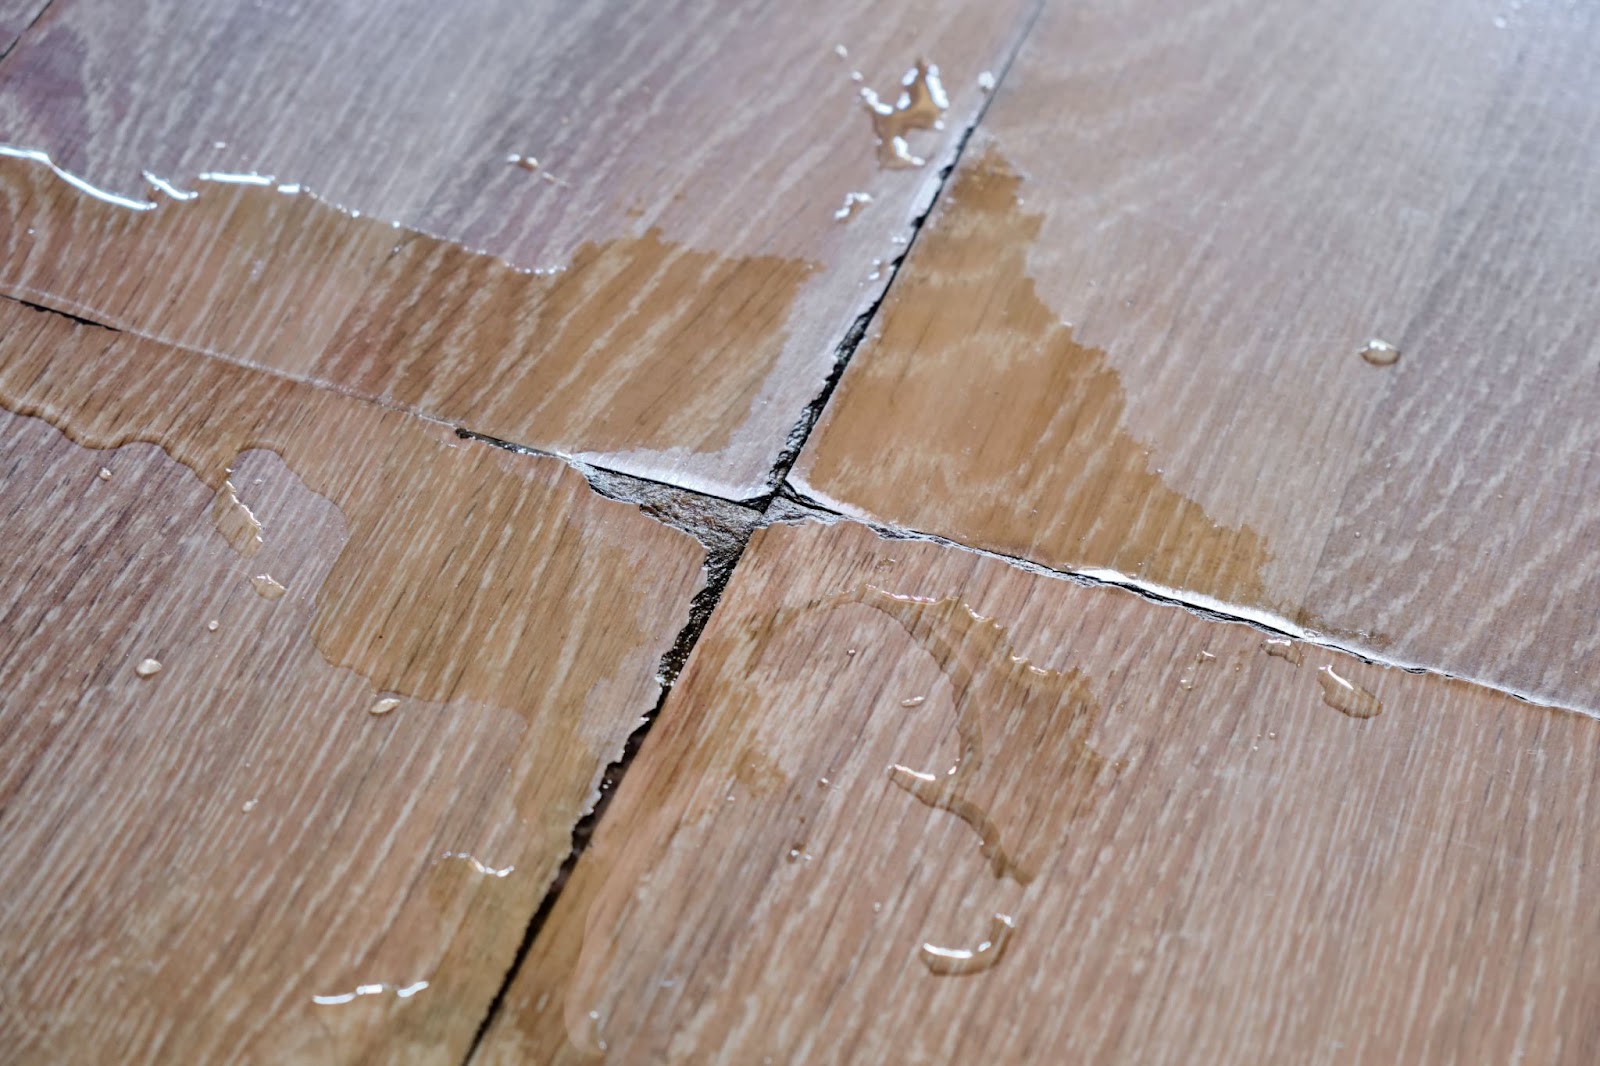
3. Remove surface water and stains
Once the wood is thoroughly dry, it’s time to tackle any surface water and stains that have set in. Surface water can often be easily removed with towels, but if the water has left stains behind, more effort will be required to restore the wood’s appearance. Water stains are often caused by minerals or contaminants in the water that are left behind after evaporation, resulting in unsightly discoloration.
To remove these stains, you can start with a gentle approach using a mixture of white vinegar and water. Dampen a soft cloth with the solution and gently rub the stained area in the direction of the wood grain. Vinegar is effective in lifting light stains without damaging the wood finish.
4. Sand the damaged area
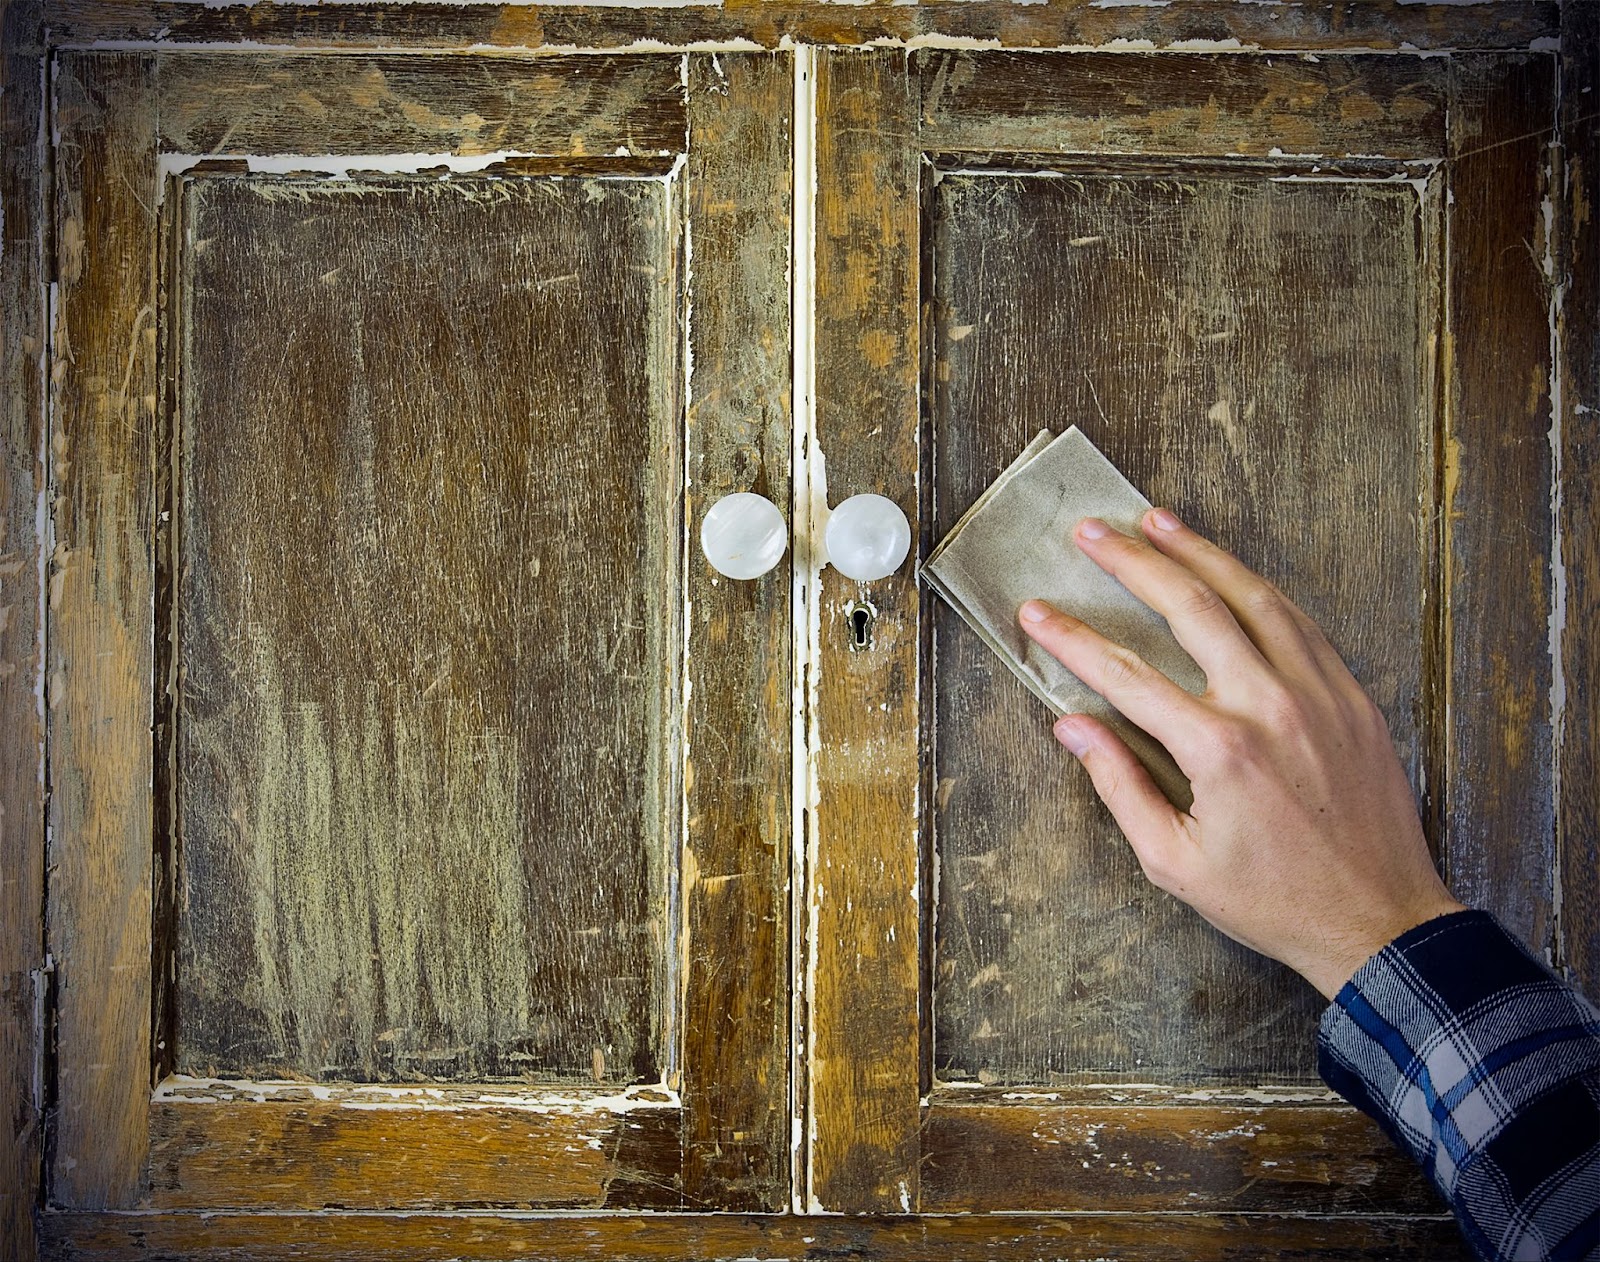
Sanding is a critical step in the process of repairing water damaged wood, as it helps to remove the compromised surface layer and prepares the wood for further restoration. Once you’ve dried the wood and addressed any surface stains, you’ll likely notice areas that are rough, uneven, or warped. Sanding smooths out these imperfections, allowing you to create a consistent surface that’s ready for refinishing.
5. Apply a wood hardener
After sanding the damaged area, you can reinforce the weakened wood by applying a wood hardener. This step is especially important if the water damage has caused the wood to become soft, crumbly, or structurally compromised. Wood hardener is a liquid solution designed to penetrate deep into the wood fibers, binding them together and restoring strength to the damaged area.
Once the hardener has fully cured, the wood will be much stronger and ready for the final steps of repair, such as filling, sealing, and finishing. This step not only stabilizes the damaged wood but also extends its lifespan, ensuring that it can withstand future use and environmental factors.
6. Fill in the gaps or holes
The next step is to address any gaps, cracks, or holes that the water damage may have caused. These imperfections not only affect the appearance of the wood but can also weaken its structure if left untreated. Filling these areas will restore the wood’s smooth surface and make sure that it is ready for refinishing.
Choose your filler material based on the size and type of damage. For small cracks and minor holes, a standard wood filler or putty will suffice. These products are easy to work with and can be sanded smooth once dry. For larger gaps or deeper holes, you may need to use an epoxy filler, which offers greater strength and durability.
7. Seal the wood
After you’ve filled in any gaps or holes and made sure the wood is smooth and even, the next essential step is to seal the wood. Sealing is crucial for protecting the wood from future damage and ensuring that it maintains its integrity and appearance over time. A good sealant will create a barrier that protects the wood from moisture, dirt, and other environmental factors that could cause further damage.
8. Repaint or stain the wood
One of the last steps in repairing water-damaged wood is to repaint or stain the surface, restoring its appearance and providing an additional layer of protection. Whether you choose to repaint or stain depends on the original finish of the wood and your desired outcome. This step not only enhances the wood’s aesthetic appeal but also helps to seal and protect the surface from future damage.
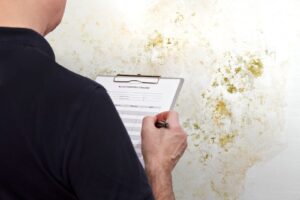
9. Inspect for mold or mildew
Once the wood has been repaired and sealed, it’s important to conduct a thorough inspection for mold or mildew. Even if the wood appears to be dry and restored, lingering moisture or water damage can create the perfect environment for mold and mildew growth. These fungi not only pose health risks but can also compromise the integrity of the wood, undoing all your hard work.
Start by visually inspecting the repaired area for any signs of mold or mildew, which can appear as dark spots, patches, or fuzzy growths on the surface of the wood. Mold and mildew often thrive in hidden areas, so be sure to check corners, crevices, and underneath the wood if possible.
10. Replace severely damaged sections
Sometimes, despite your best efforts, the damage from what happens when wood gets wet may be too severe to repair. When the wood has become too warped, rotten, or structurally compromised, the most practical solution is to replace the affected sections.
Attempting to restore wood that is beyond repair can lead to further problems down the line, including continued deterioration, instability, and potential safety hazards.
Trust the experts at Total Flood & Fire Restoration
When it comes to repairing water damaged wood, the process can be complex and time-consuming, especially if the damage is extensive. While some minor issues can be addressed with DIY solutions, there are times when professional expertise is essential to make sure water damage restoration is done correctly and safely. That’s where Total Flood & Fire Restoration comes in.
With over 20 years of experience serving Salt Lake, Davis, and Utah counties, our team is equipped to handle even the most challenging restoration projects. At Total Flood & Fire Restoration, we understand the importance of restoring your home or business to its original condition after water damage. Our licensed and certified technicians are trained to identify the extent of the damage and use the latest tools and techniques to dry, repair, and restore wood surfaces.
Don’t take chances with water damage; trust the experts at Total Flood & Fire Restoration to protect your investment and restore your peace of mind. Contact us today, and let us help you bring your property back to life!